Deploy your app
Streamlit Community Cloud lets you deploy your apps in just one click, and most apps will deploy in only a few minutes. If you don't have an app ready to deploy, fork or clone one from our App gallery — you can find apps for machine learning, data visualization, data exploration, A/B testing and more. You can also fork and deploy samples straight from the New app button. Once you've deployed your app, check out how you can Edit your app with GitHub Codespaces.
Note
If you want to deploy your app on a different cloud service, check out the Deploy Streamlit apps article in our Knowledge Base.
Add your app to GitHub
Streamlit Community Cloud launches apps directly from your GitHub repo, so your app code and dependencies need to be on GitHub before you try to deploy your app. For more information on how to specify dependencies, see App dependencies.
Your directory structure should look similar to this:
your-repository/
├── your_app.py
└── requirements.txt
If you are including any custom Configuration or Theming, make sure your config file is saved relative to the root of your repo. Within your repo, your config file should be named .streamlit/config.toml
.
your-repository/
├── .streamlit/
│ └── config.toml
├── your_app.py
└── requirements.txt
Additionally, any files that need to be locally available to your app should be included in your repo.
Tip
If you have really big or binary data that you change frequently, and git is feeling slow, you might want to check out Git Large File Store (LFS) as a better way to store large files in GitHub. You don't need to make any changes to your app to start using it. If your GitHub repo uses LFS, it will just work with Streamlit Community Cloud.
Important
Although you can deploy multiple apps from the same repository, there can be only one configuration file. This configuration file must be in a .streamlit
directory in the root of your repository.
Deploy your app
-
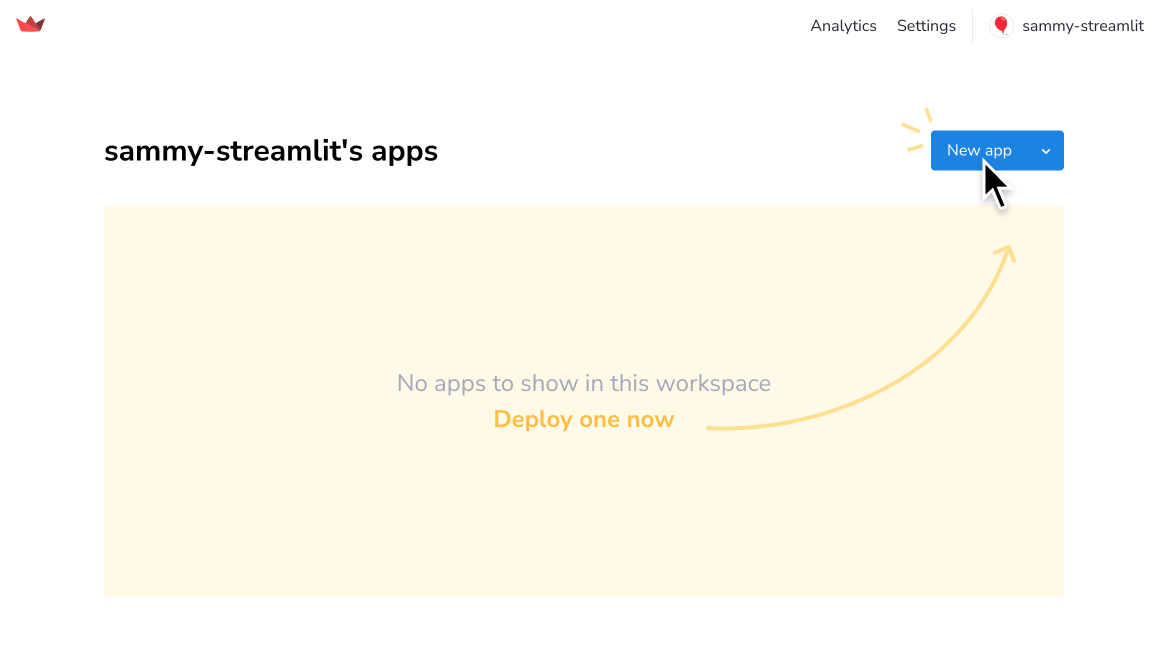
From your workspace at share.streamlit.io, click "New app" from the upper-right corner of your workspace.
-
Fill in your repo, branch, and file path. As a shortcut, you can also click "Paste GitHub URL" to paste a link directly to
your_app.py
on GitHub.An app URL with a random hash is prefilled but you can change this to a custom subdomain instead. In the example below, the app would be deployed to
https://red-balloon.streamlit.app/
. You can always change your subdomain later. See more about Custom subdomains at the end of this page.While Community Cloud attempts to suggest available repos and files, these suggestions are not always complete. If you do not see the desired information populating a drop-down list in each field, type it in manually.
Advanced settings for deployment
Note
Streamlit Community Cloud supports all released versions of Python that are still receiving security updates. Streamlit Community Cloud defaults to version 3.9. You can select a version of your choice from the "Python version" dropdown in the "Advanced settings" modal. If an app is running a version of Python that becomes unsupported, it will be forcibly upgraded to the oldest, supported version of Python and may break.
-
(Optional) If you are connecting to a data source or want to specify the Python version for your app, you can do that by clicking "Advanced settings" before you deploy the app. Learn more about Secrets management.
Watch your app launch
Your app is now deploying and you can watch while it launches. Most apps take only a couple of minutes to deploy, but if your app has a lot of dependencies it may take longer to deploy the first time. After the initial deployment, any change that does not touch your dependencies should show up immediately.
Note
The Streamlit Community Cloud logs on the right hand side of your app are only viewable to users with developer access to your repository. These logs help you debug any issues with the app. Learn more about Streamlit Community Cloud logs.
Your app URL
That's it — you're done! Your app now has a unique subdomain URL that you can share with others. Read more about how to Share your app with viewers.
Unique subdomains
If the "Custom subdomain (optional)" field is blank when you deploy your app, a URL is assigned following a structure based on your GitHub repo. The URL begins with your GitHub username or organization owning your repo, followed by your repo name, app path, and a short hash. If you deploy from a branch other than main
or master
, the URL also includes the branch name.
https://[GitHub username or organization]-[repo name]-[app path]-[branch name]-[short hash].streamlit.app
For example, this is an app deployed from the streamlit
organization. The repo is demo-self-driving
and the app name is streamlit_app.py
in the root directory. The branch name is master
and therefore not included.
https://streamlit-demo-self-driving-streamlit-app-8jya0g.streamlit.app
Custom subdomains
Setting a custom subdomain makes it much easier to share your app since you can choose something memorable. Whether you set a custom subdomain during deployment or later, your app's URL will appear as:
https://<your-custom-subdomain>.streamlit.app
To view or customize your app subdomain from the dashboard:
- Click the overflow icon (more_vert) to the app's right and select "Settings".
- View the "General" tab in the App settings modal. Your app's unique subdomain will appear here.
- Pick a custom subdomain between 6 and 63 characters in length for your app's URL and hit "Save".
It's that simple! You can then access your app by visiting your customized URL 🎉.
If a custom subdomain is not available (e.g. because it's already taken), you'll see an error message like this:
Still have questions?
Our forums are full of helpful information and Streamlit experts.